20 Reasons a Handmade Pottery Mug Costs more than a Mug from a Big Box Store
Step #7 Dry the mug slowly so handles don’t crack.


Aside from the 20 steps listed below, each mug is made by hand and truly one of a kind. It is not mass produced in a country with disregard for fair labor practices.
When a non-potter sees a potter making a mug at the wheel they usually say, you made that so quick. My response… this is only one tiny step in the whole process. This part appears to be quick because I have been practicing my craft for over 35 years.
So what are all the steps to making a mug?
Well here you go…
I am assuming the potter has the clay, glazes, and all of the expensive equipment, the wheel, kiln, studio space and hand tools.
1. Design the mug on paper, and or make actual sketches in clay to figure out shape, visual balance, glaze color, and texture. Question your design, and ask yourself will it be functional and comfortable to hold.
2. Prepare the clay (wedging).
3. Center and throw or hand build the form.
4. Dry to leather hard consistency for trimming.
5. Trim the bottoms.
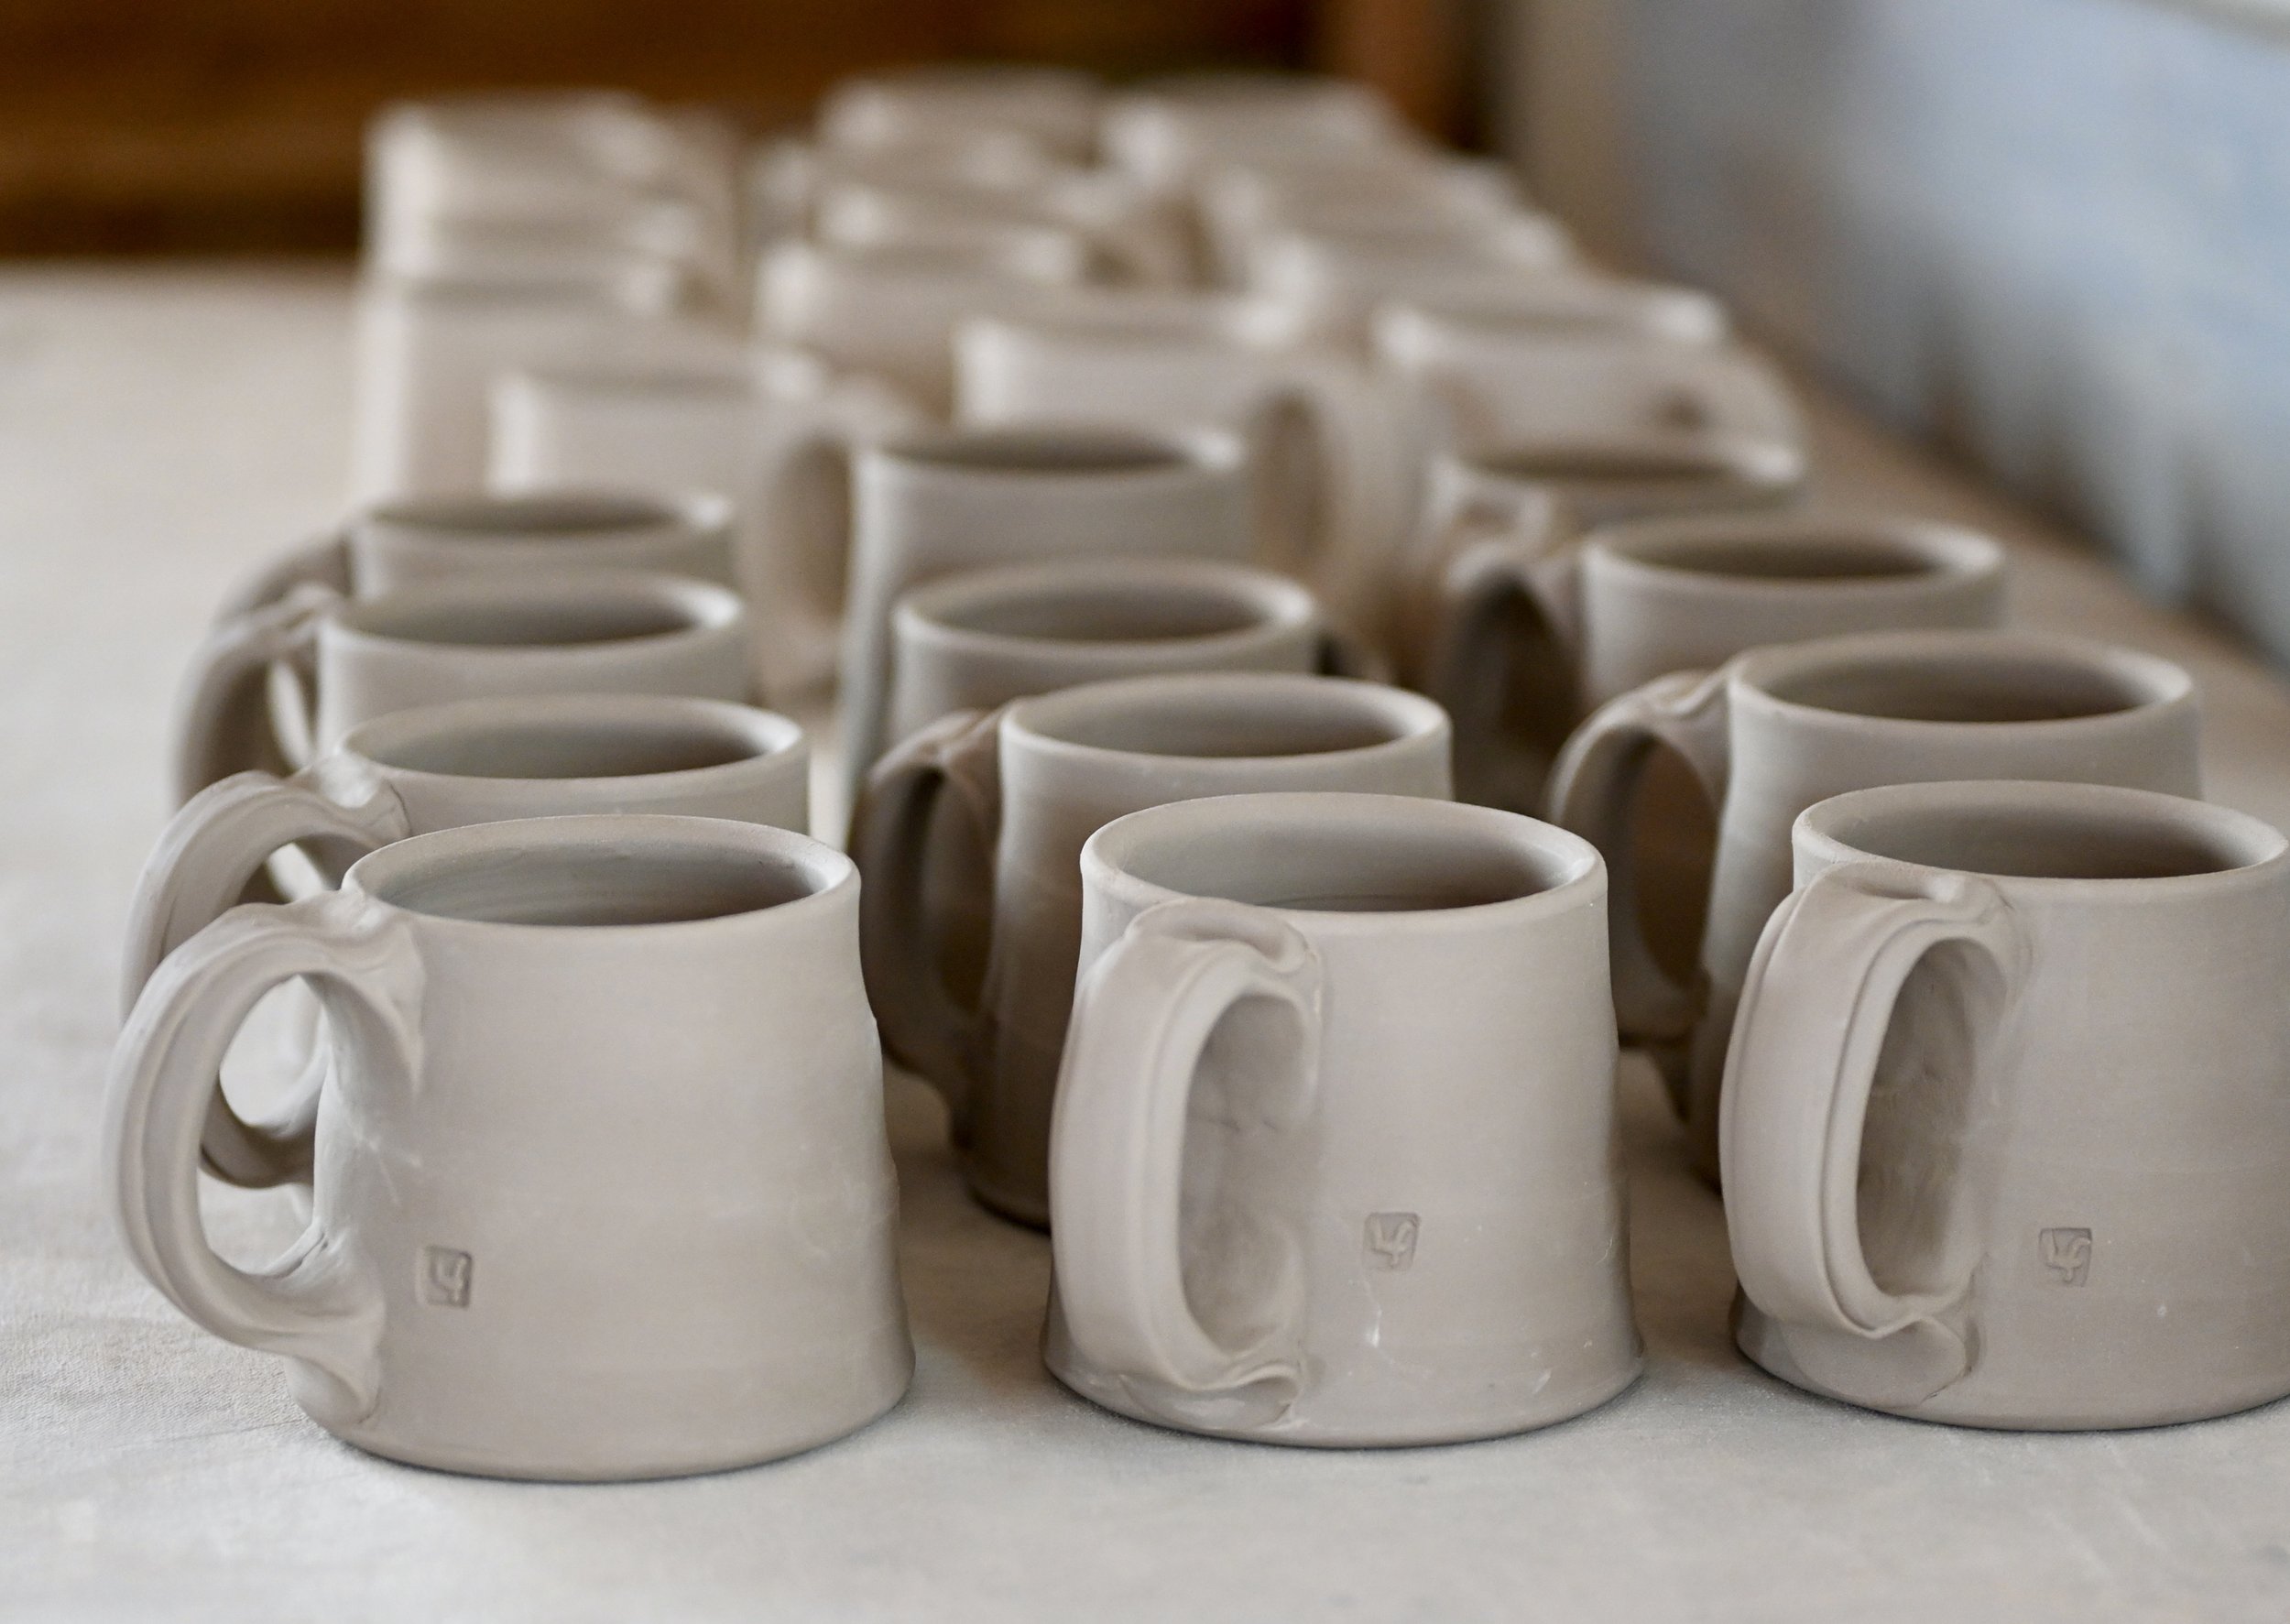
6. Make and attach the handle.
7. Dry everything slowly over a few days so the handles don’t crack off.
8. Check each piece for burrs and sharp high spots and smooth out with a sponge or metal tool.
9. Load and fire the 12 hour bisque kiln.
10. Unload the kiln after 24 hours of cooling.
11. Check each piece for cracks, burrs, and sand if needed.
12. Wax the bottom of each piece to prevent glaze from sticking to kiln shelves.
13. Glaze the piece, which could include a few different layers of glazes, and sometimes spraying a glaze over the layers… cause let’s face it, electric kiln fired glazes can sometimes be a bit boring. (For the sake of simplicity, I am assuming the potter is using an electric kiln rather than a wood or gas kiln).
14. Mix kiln wash, grind each kiln shelf smooth, apply kiln wash.
15. Load and fire the glaze kiln, (approximately 18 hour firing).
16. Unload the kiln after 24 hours of cooling.
17. Sand the bottoms smooth so they don’t scratch a table.
18. Present the work. Take and edit photos of the mug to sell online, or to get into a show.
19. If you are selling online - Upload photos to your website, with a description, measurements and price. Estimate the cost of shipping. Pack the mug very carefully in shipping materials and boxes that you have purchased. Print shipping labels, and get it to the post office.
20. If you are selling at an in person show - pack the pottery, un-pack it, display it, be a salesperson for the weekend. Alternatively, you can take half the price and have a gallery sell it for you.
When you really think about all of these steps a handmade mug really isn’t that expensive. Plus you are getting the equivalent of a mini sculpture, that is functional and can be used daily in a ritual that you enjoy.
A few years ago I wrote a blog post comparing the cost of dinner out as compared to the price of a handmade mug. You can read it here. And yes, prices have gone up since then.
https://www.lucyfagella.com/blog/the-cost-of-a-dinner-out-vs-the-price-of-a-handmade-mug